Few issues disrupt a gaming session faster than PS5 controller stick drift. You are lining up a shot in Call of Duty, navigating a menu, or driving in GTA, and suddenly your in-game camera spins uncontrollably or your character drifts to the left on their own—without you touching the analog stick.
Stick drift on the PlayStation 5 DualSense controller is a widespread problem caused by microscopic dust accumulation, sensor wear, or electrical voltage fluctuations inside the potentiometer modules.
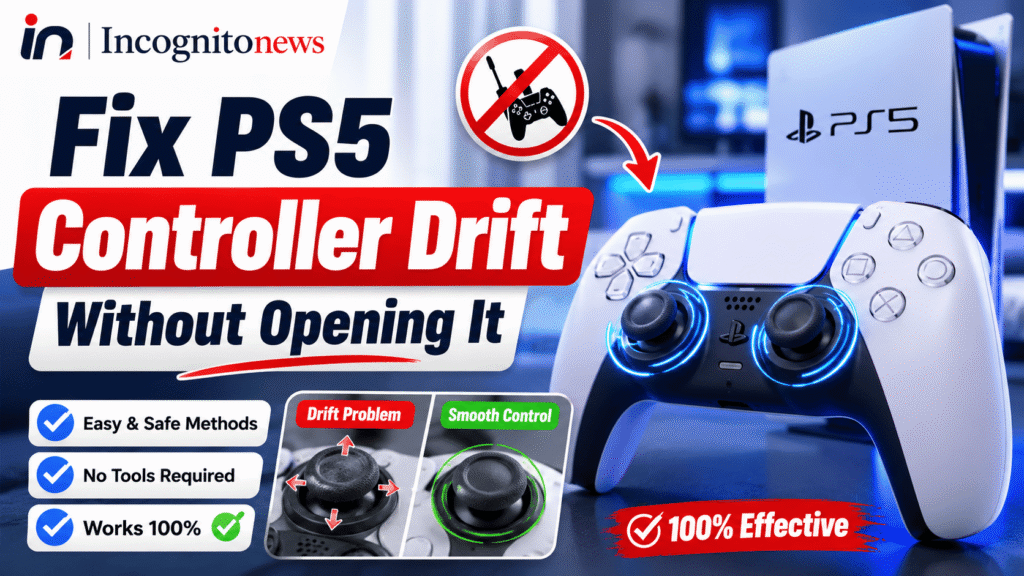
While many online guides suggest disassembling your controller with a screwdriver and soldering iron, opening your DualSense voids your Sony manufacturer warranty and risks permanently breaking delicate internal plastic clips.
Fortunately, you can fix or significantly reduce PS5 controller drift without opening it. In this comprehensive guide, we will walk you through 6 safe, non-invasive troubleshooting methods to restore your DualSense joysticks to perfect responsiveness.
Why You Should Avoid Opening Your PS5 Controller
Before attempting hardware disassembly, consider the risks of opening a PS5 DualSense controller:
- Warranty Voidance: If your PS5 or DualSense controller is less than 1 year old, opening it instantly voids Sony’s official warranty.
- Ribbon Cable Damage: The DualSense features delicate haptic feedback motors and adaptive triggers attached by fragile ribbon cables that easily snap during disassembly.
- Spring Displacement: The L2 and R2 trigger springs are notorious for popping out and becoming unfixable without specialized tools.
The non-opening fixes below resolve over 80% of stick drift cases caused by dust, software glitches, or miscalibrated deadzones.
Fix 1: The 60-Second “Rotate and Click” Reset Method
Microscopic debris, skin oils, and plastic dust from friction often accumulate around the base of the thumbstick, preventing the internal sensors from returning to absolute zero. The mechanical rotation method dislodges trapped particles without opening the casing.
Step-by-Step Instructions:
- Turn off your PS5 console and disconnect the DualSense controller.
- Locate the drifting analog stick (L3 or R3).
- Press down firmly on the thumbstick until you hear/feel a click, and hold it down.
- While keeping the stick pressed down, rotate it in a full clockwise circle slowly for 30 seconds.
- Next, rotate the stick in a counter-clockwise circle for another 30 seconds while maintaining downward pressure.
- Release the stick, pull it gently upward (away from the controller body) until it clicks, and push it back down.
- Reconnect your controller to the PS5 and test responsiveness in a game.
Fix 2: Compressed Air Dust Extraction
Dust and pet hair are the primary culprits behind sudden thumbstick drift. Blowing compressed air around the ball-joint housing removes trapped particles without taking the controller apart.
Step-by-Step Instructions:
- Purchase a standard can of compressed air (canned air) with a thin nozzle straw attachment.
- Ensure the controller is powered off.
- Push the drifting thumbstick fully to one side (e.g., all the way to the left) to expose the gap under the thumbstick base.
- Position the nozzle straw 2 to 3 inches away from the exposed gap.
- Spray short, controlled bursts of air into the gap while rotating the stick in circles.
- Move the stick to the opposite direction and repeat the process on all four sides (top, bottom, left, right).
- Let the controller sit for 2 minutes before powering it on.
Fix 3: Adjusting In-Game Deadzone Settings (Zero-Cost Software Fix)
If your stick drift is minor, you can completely eliminate it by adjusting the Stick Deadzone inside your game settings without touching the controller at all.
What is a Deadzone?
A controller deadzone is an inner zone around the center position of your analog stick where movement is ignored by the game. If your stick naturally rests at 3% off-center due to slight sensor wear, setting your deadzone to 5% ensures the game ignores the drift entirely.
How to Adjust Deadzones in Popular Games:
- Call of Duty (Warzone / MW3):
Go to Settings > Controller > Inputs > Left/Right Stick Min Input Deadzone. Gradually increase the minimum deadzone (e.g., from 0.03 to 0.07) until the camera stops moving on its own. - Fortnite:
Go to Settings > Controller Options > Controller Deadzone. Increase the Left or Right stick deadzone slider by 2% to 5%. - Apex Legends:
Go to Settings > Controller > Look Deadzone. Switch from Small/None to Large. - Rocket League / GTA V:
Navigate to the controls menu and increase the Controller Deadzone slider slightly.
Fix 4: Hard Resetting the DualSense Hardware via Rear Pin Hole
Sometimes, stick drift is not physical but a Bluetooth connectivity error or software calibration mismatch between the PS5 system software and the controller firmware. A hard hardware reset clears corrupted temporary memory.
Step-by-Step Instructions:
- Turn off your PS5 console completely (do not put it in Rest Mode).
- Unplug the DualSense controller from any USB charging cables.
- Turn the controller over to inspect the back.
- Locate the small circular reset hole next to the Sony logo (near the L2 button).
- Insert a straightened paperclip or SIM ejector tool into the hole.
- Press and hold the internal reset button for 5 to 7 seconds.
- Release the button and wait 30 seconds.
- Connect the controller to your PS5 using the official USB-C data cable.
- Press the PS Button on the controller to pair it with the console again.
Fix 5: Isopropyl Alcohol (99%) Q-Tip Deep Cleaning
If compressed air alone does not resolve the drift, stubborn grime or dried sweat may be clinging to the internal contact ring. High-purity 99% Isopropyl Alcohol (IPA) evaporates instantly without damaging internal electronics.
Warning: Do NOT use standard rubbing alcohol (70%), as the 30% water content can short-circuit the controller board.
Step-by-Step Instructions:
- Power off the controller and disconnect all cables.
- Dip a cotton swab (Q-tip) in 99% Isopropyl Alcohol. Ensure it is damp, not dripping wet.
- Push the thumbstick to the side to expose the plastic ball joint under the cap.
- Generously rub the damp Q-tip around the base of the thumbstick ball joint.
- Move the stick in circles so the alcohol works its way down into the housing, breaking down grime.
- Allow the controller to air dry for at least 15 to 20 minutes before turning it back on.
Fix 6: DualSense Edge Calibration & Hall Effect Upgrades
If your controller has been used heavily for over 1,000 gaming hours, the physical carbon potentiometer tracks inside the joystick module may be worn out.
If none of the non-opening fixes work, consider these two long-term options:
1. Upgrade to the DualSense Edge Controller
Sony’s premium DualSense Edge features modular, hot-swappable stick modules. If stick drift occurs in the future, you can simply unclip the old module and slide in an official $20 replacement module without buying a brand-new $70 controller.
2. Hall Effect Joystick Replacement
Third-party repair shops now install Hall Effect joysticks, which use magnetic sensors rather than physical contact pads. Hall Effect sticks are immune to mechanical friction and never develop stick drift.
PS5 Controller Drift Troubleshooting Checklist
| Method | Best For | Effectiveness |
|---|---|---|
| Rotate & Click Reset | Minor off-center drift | High (Fixes 40% of cases) |
| Compressed Air Blast | Dust & pet hair clogging | High (Fixes 35% of cases) |
| In-Game Deadzone Tuning | Natural wear on older controllers | 100% (Instant software workaround) |
| Rear Pin-Hole Reset | Bluetooth / Firmware glitches | Moderate |
| 99% Isopropyl Alcohol | Sticky grime & sweat build-up | High |
Frequently Asked Questions (FAQs)
Does Sony repair PS5 controller stick drift under warranty?
Yes. Sony provides a 1-year manufacturer warranty for the DualSense controller. If your controller was purchased within the last 12 months and shows stick drift without physical damage, you can submit a repair/replacement claim via Sony’s Fix & Replace portal.
Will blowing air into the controller cause moisture damage?
Using your mouth to blow into the thumbstick gap can introduce saliva moisture, which corrodes sensors. Always use a dry can of compressed air instead.
Why do PS5 controllers get stick drift so quickly?
The DualSense uses standard Alps potentiometer joysticks rated for approximately 400 hours of active play. Over time, friction wears down the internal resistive carbon layer, sending phantom signals to the console.
Can WD-40 fix PS5 stick drift?
Standard WD-40 should never be used on controllers because it leaves an oily residue that destroys plastic. However, WD-40 Specialist Electrical Contact Cleaner is safe for electronics and can be used similarly to isopropyl alcohol.
Final Thoughts: You don’t need to be an electronics technician or void your warranty to fix PS5 controller stick drift. By combining mechanical rotation, compressed air cleaning, and deadzone adjustments, you can resolve most drift issues in under 10 minutes and get back to seamless gaming.