The Nintendo Switch is one of the most versatile gaming consoles ever made, allowing you to transition seamlessly from playing in handheld mode to gaming on a large screen in your living room. However, setting up the console for the first time or moving it to a new television can occasionally lead to confusion. If you are setting up your system, you might be asking: how to connect nintendo switch to tv?
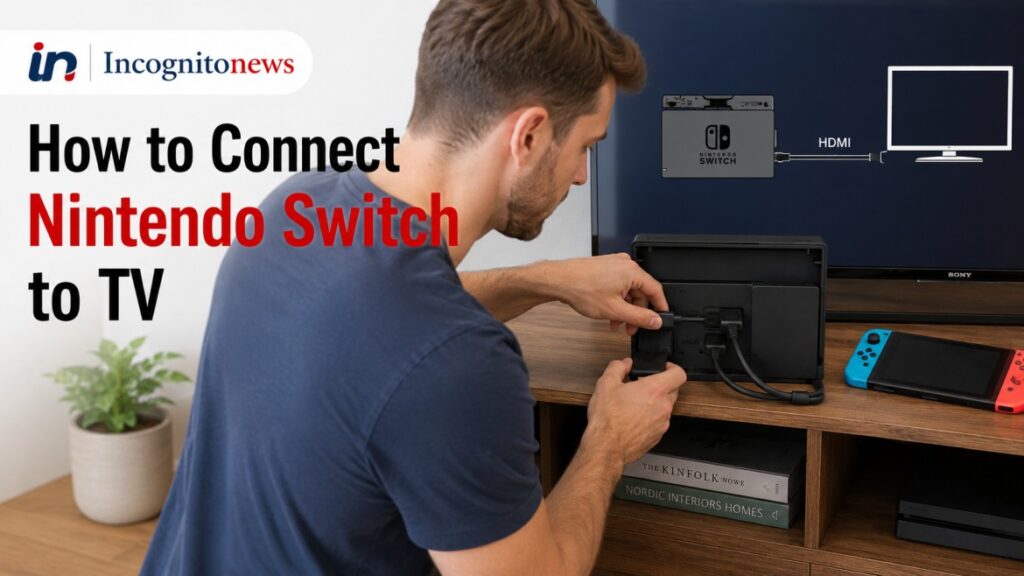
While the standard dock setup is simple, there are specific steps you must follow in a precise order to ensure the video and audio signals transmit correctly.
In this comprehensive guide, we will walk you through the official nintendo switch dock setup, explain how to connect switch to tv screens without the official dock using third-party USB-C adapters, show you how to optimize your nintendo switch tv output settings, and troubleshoot common issues like a blank screen or lagging audio.
The Official Nintendo Switch Dock Setup: Connect Nintendo Switch to TV
To connect your standard Nintendo Switch to your TV using the official dock included in the box, follow these steps. For the best performance and to avoid short-circuiting your console, always use the official Nintendo AC adapter and high-speed HDMI cable.
Step 1: Open the Back of the Dock
Locate the back cover of the Nintendo Switch dock. Look for the small flap on the rear and gently pull it open. Inside, you will see three ports:
- AC ADAPTER (top port for power input)
- USB (middle port for accessories)
- HDMI OUT (bottom port for TV video/audio connection)
Step 2: Connect the Power AC Adapter
Plug the USB-C end of the official Nintendo Switch AC adapter into the top port labeled AC ADAPTER. Plug the other end of the power cord directly into a wall outlet.
- Note: Avoid plugging the adapter into a crowded power strip, as the dock requires a stable 15V/2.6A power draw to trigger TV output mode.
Step 3: Connect the HDMI Cable
Plug one end of the high-speed HDMI cable into the bottom port labeled HDMI OUT. Connect the other end of the HDMI cable to an available HDMI port on the back or side of your TV. Make note of the HDMI port number (e.g., HDMI 1, HDMI 2) so you can select the correct input channel later.
Step 4: Close the Cover and Position the Dock
Neatly route the cables through the slots on the side of the dock cover and snap the back cover closed. Place the dock on a flat, stable surface near your television.
Step 5: Dock the Console
Remove the Joy-Con controllers from the sides of the Switch console. Hold the console so the screen faces the same direction as the Nintendo Switch logo on the front of the dock. Slide the console slowly downward into the center slot of the dock until it connects with the USB-C prong at the bottom. A small green LED indicator light in the bottom-left corner of the dock will flash once, indicating that the console is charging and outputting video.
Step 6: Select the TV Input
Turn on your TV. Using your TV remote, press the Source or Input button and select the exact HDMI channel (e.g., HDMI 2) that your console is plugged into. The Switch home screen should now appear on your TV.
How to Connect Switch to TV Without the Dock
If you are traveling and did not bring the bulky official dock, or if your original dock has stopped working, you might need to find an alternative. If you are wondering how to connect switch to tv without dock units, it is possible using a compatible USB-C to HDMI multi-port adapter.
What You Need:
To connect without the dock, you cannot use a simple USB-C to HDMI cable. The Switch requires active power delivery to trigger TV output mode. You must use:
- A USB-C Multi-port Adapter (featuring an HDMI port, a USB-C power delivery port, and a standard USB port).
- The official Nintendo Switch AC Adapter.
- An HDMI cable.
Steps to Connect Without Dock:
- Plug the official Nintendo AC Adapter into the wall and connect the USB-C end to the USB-C power input port on your multi-port adapter.
- Connect your HDMI cable from the TV to the HDMI port on the adapter.
- Plug the main USB-C connector of the multi-port adapter directly into the bottom port of your Nintendo Switch console.
- Turn on your TV and select the correct HDMI input. Your game will output to the TV screen while charging.
If you enjoy setting up smart home and gaming devices, you can also check our troubleshooting guide on how to fix an unresponsive Alexa smart plug to keep your smart gadgets connected.
How to Adjust Nintendo Switch TV Output Settings
To get the absolute best picture and sound quality on your television, you should manually adjust your console’s settings:
- From the Switch home menu, select the gear icon to open System Settings.
- Scroll down the left sidebar and select TV Output.
- Configure the following options:
- TV Resolution: Set this to 1080p (or 720p if you are using an older TV). Do not leave it on “Automatic” to avoid resolution drops during gameplay.
- RGB Range: Set this to Automatic. If you notice washed-out colors on an HDMI monitor, change it to Full Range.
- Adjust Screen Size: If the edges of the game screen are cut off on your TV, click this option and use the Joy-Con controllers to shrink or expand the display boundaries until they align perfectly with your TV screen.
- TV Sound: Change this from Stereo to Surround Sound if you have a multi-channel home theater system connected.
Troubleshooting: Nintendo Switch Not Displaying on TV
If your console is docked but you are facing a switch not displaying on tv error (black screen or “No Signal” message), try these verified fixes:
1. Perform a Hard Power Reset
Sometimes the HDMI handshake between the TV and the dock fails.
- Fix: Unplug the HDMI cable and the AC adapter from the back of the dock, and unplug the power adapter from the wall. Wait 60 seconds. Plug the power adapter directly into the wall first, then into the dock. Finally, plug in the HDMI cable. Slide the Switch back into the dock.
2. Verify Power Supply
The Nintendo Switch dock is highly sensitive to power input. Standard phone chargers or third-party USB-C cables do not provide enough wattage to trigger TV output.
- Fix: Ensure you are using the official Nintendo AC adapter (Model No. HAC-002) plugged directly into a wall outlet, not a USB port on your TV or a computer.
3. Check Nintendo Switch Lite Compatibility
- Note: If you own a Nintendo Switch Lite, please note that it does not support TV output. The Lite model lacks the internal hardware chip necessary to transmit video signals via USB-C. No dock or adapter can bypass this hardware limitation.
Frequently Asked Questions (FAQs)
Why won’t my Switch connect to the TV?
Ensure the green light on the front of the dock is on. Check that all cables are firmly plugged into the correct ports inside the dock, select the correct HDMI input channel on your TV, and make sure you are using the official Nintendo AC power adapter.
Can you connect a Switch Lite to the TV?
No. The Nintendo Switch Lite does not have the hardware capability to output video to a television or external monitor. It is designed strictly for handheld play.
How do I fit the Switch screen to my TV?
Go to System Settings > TV Output > Adjust Screen Size on your Nintendo Switch. Use the controllers to adjust the screen boundaries until the red brackets align perfectly with the edges of your television screen.